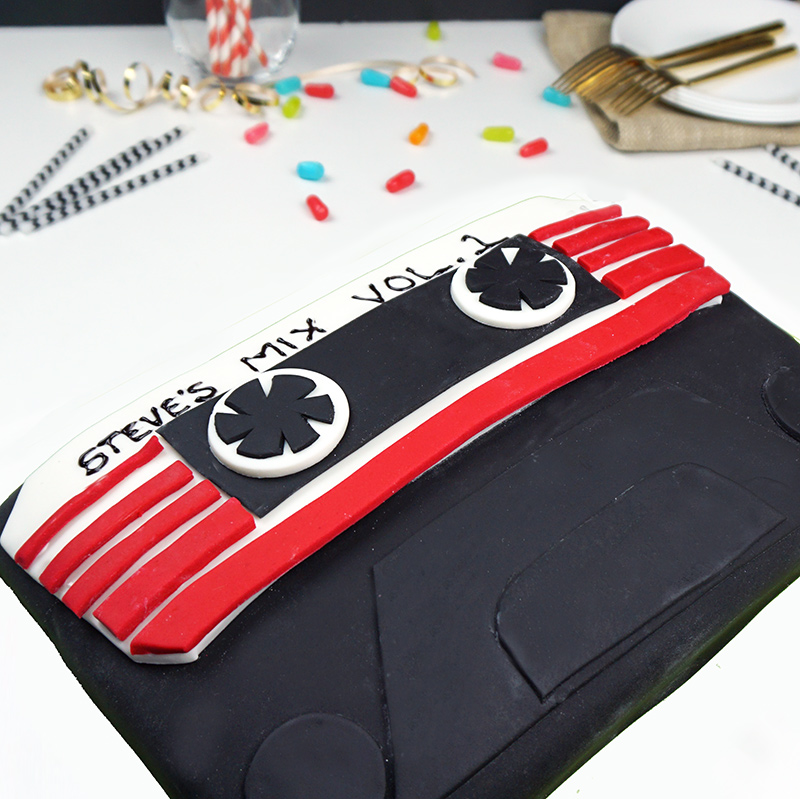
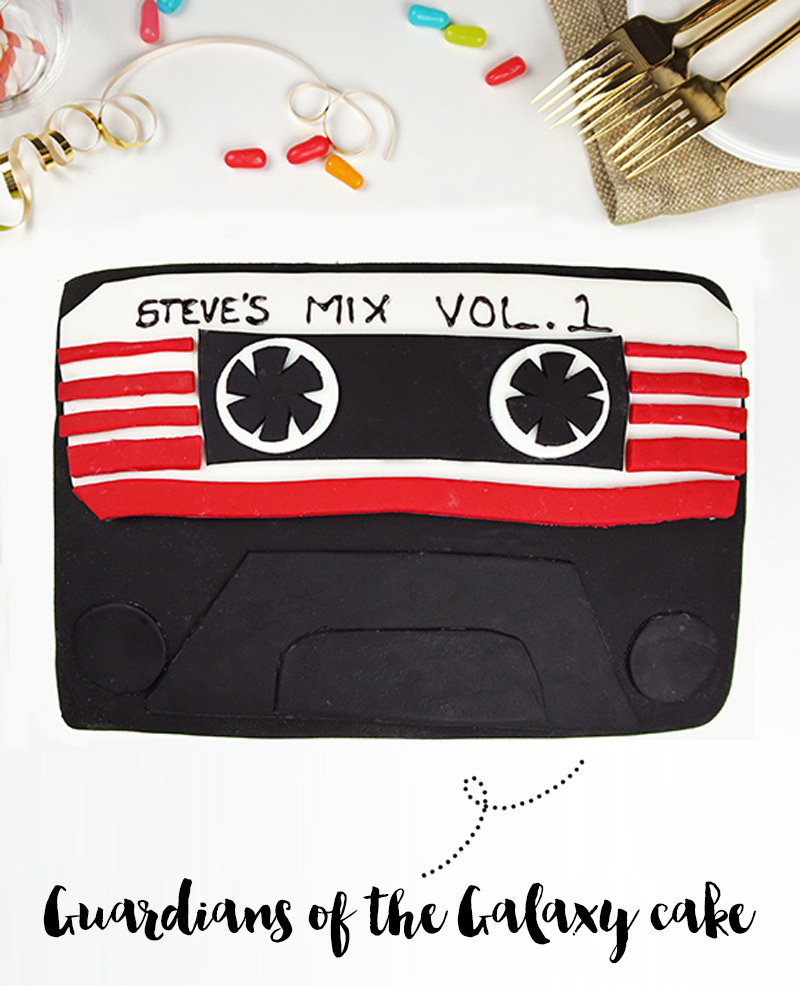
When you’ve got someone in your life who loves Guardians of the Galaxy and is having a birthday, you’ve got to go the extra mile with an Awesome Mix Vol. 1 Guardians of the Galaxy cake, right? This easy sheet cake is made perfectly geektacular with a little fondant and a little elbow grease. Ain’t no mountain high enough to stop us from making it. I’m hooked on the feeling of this cake. Only the spirit in the sky can… well, you get the idea.
Come and get your love cake. (I promise that was the last song reference… probably.)
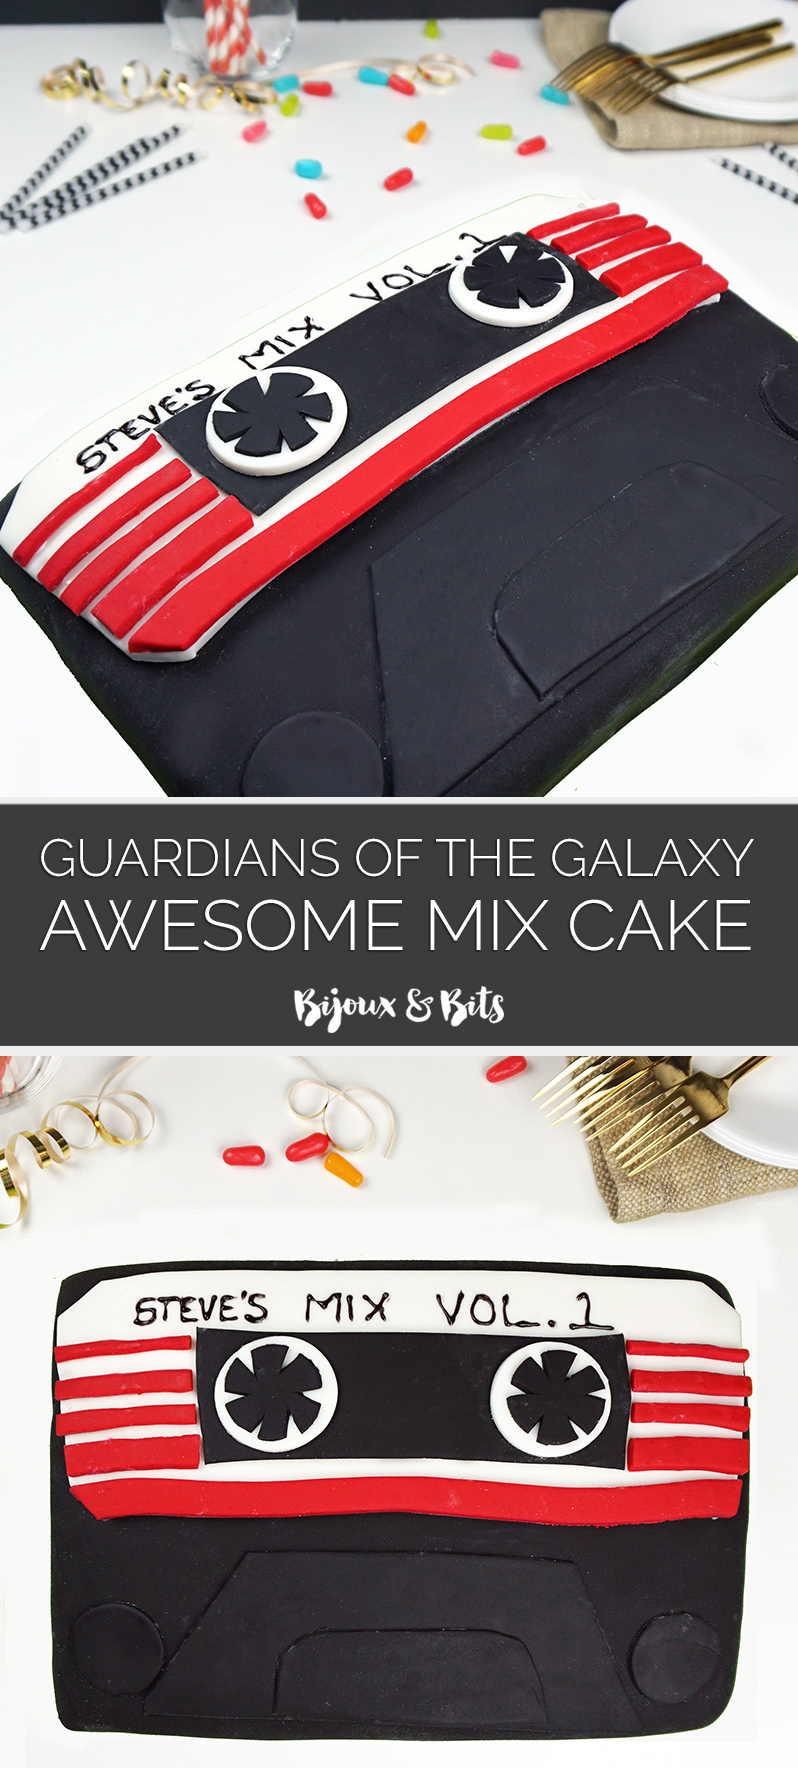
I took a whole lot of shortcuts with this Guardians of the Galaxy cake since it was my first time messing around with fondant and I didn’t want to take any chances with the rest. I used boxed cake mix, pre-made frosting, and pre-dyed fondant. Feel free to sub in your homemade or home-colored versions of these if you like. Otherwise, shortcut away to save time since the fondant alone can be time-consuming.

Working with fondant ended up being much easier than I was imagining. I was picturing struggling with stickiness and having to keep it a certain temperature a la rolling out dough. But it was super easy to re-roll back into new shapes and slid onto the cake like a dream. I hope it works just as well for you.
I used Wilton Decorator Preferred fondant in black, white, and red.
Make sure you leave some time for sufficient cooling. You want your cake to cool before you frost it and the frosting to chill before you lay the fondant. So it’ll take a fair few hours in total. But it’s worth it, don’t you think?
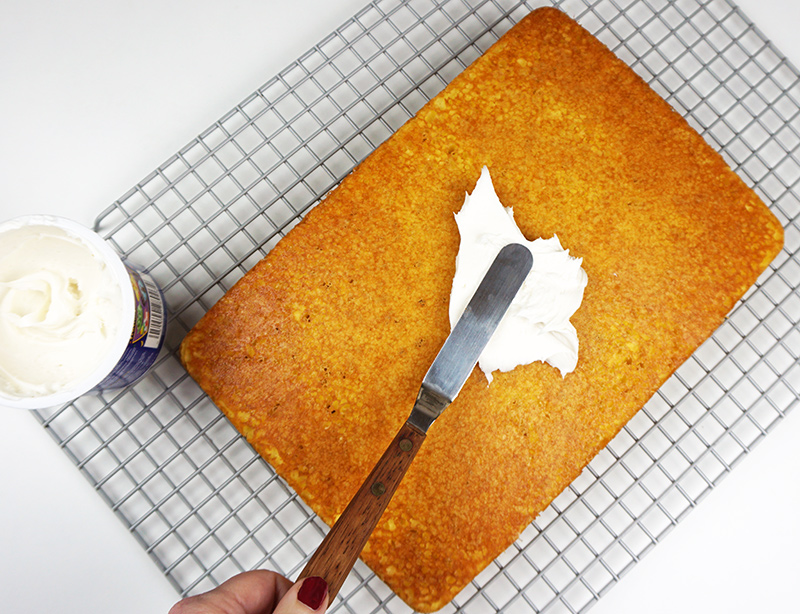
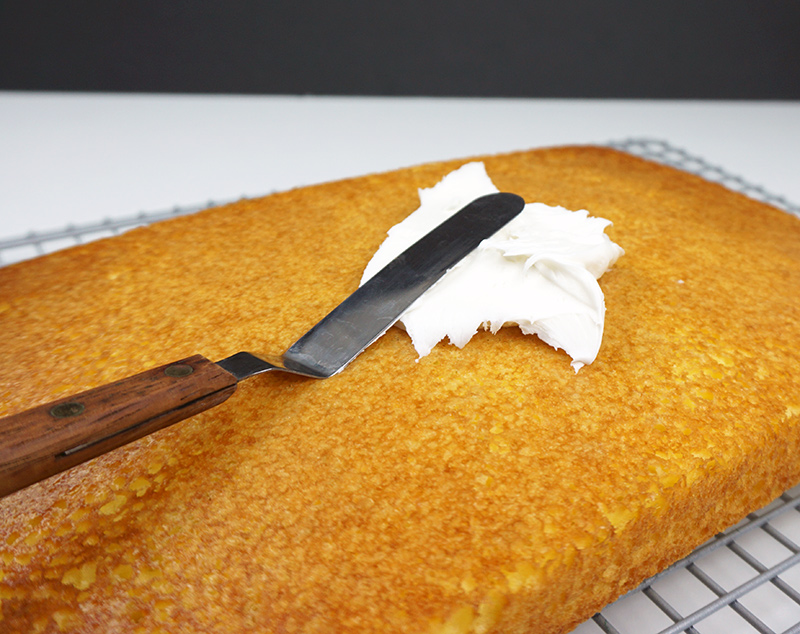
You’ll spread a thin layer of traditional frosting on the cake itself, just so the fondant has something to stick to.

Here are some tools that make working with fondant so.much.easier. For reals:
- Fondant smoother — makes smoothing out fondant a cinch
- Pizza cutter — for large, straight lines and cutting around corners
- X-Acto knife — for tiny detail cutting like the cassette tape wheels
- Biscuit cutters — for super easy circles
- Measuring tape — for making it all fit together
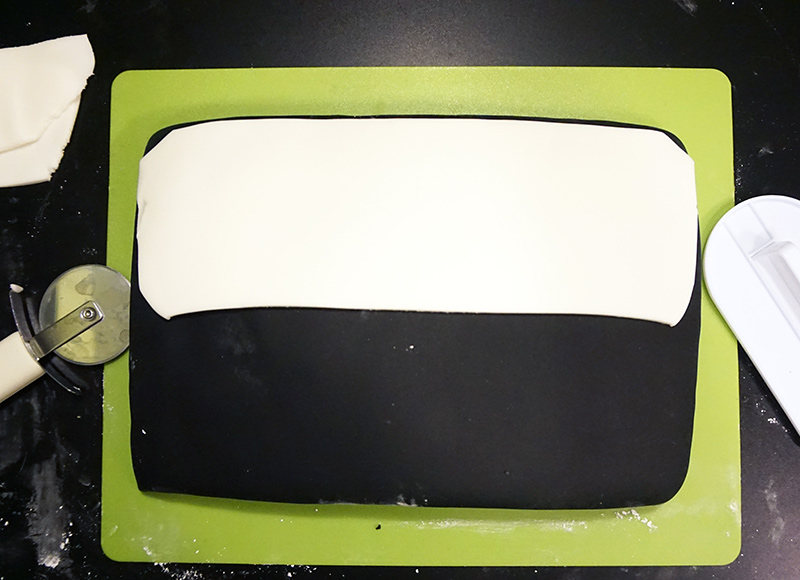
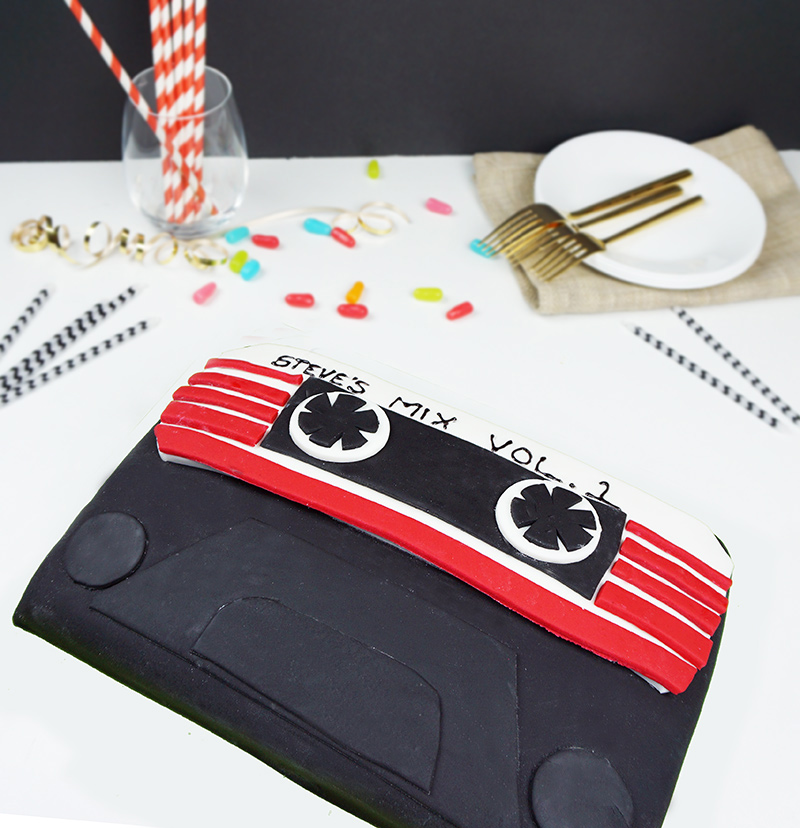
Then it’s all just a matter of rolling out your fondant (using a bit of powdered sugar to keep things from sticking), and layering it on the cake.
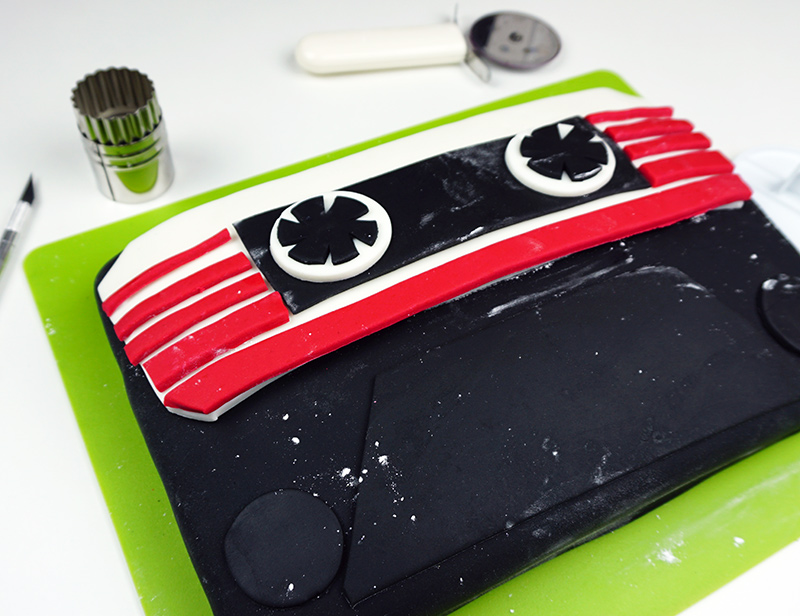
You can see some of the powdered sugar getting all over the place. I just used a clean art brush with a tiny bit of cooking spray to dab/brush away the excess sugar once it’s complete. Easy peasy.
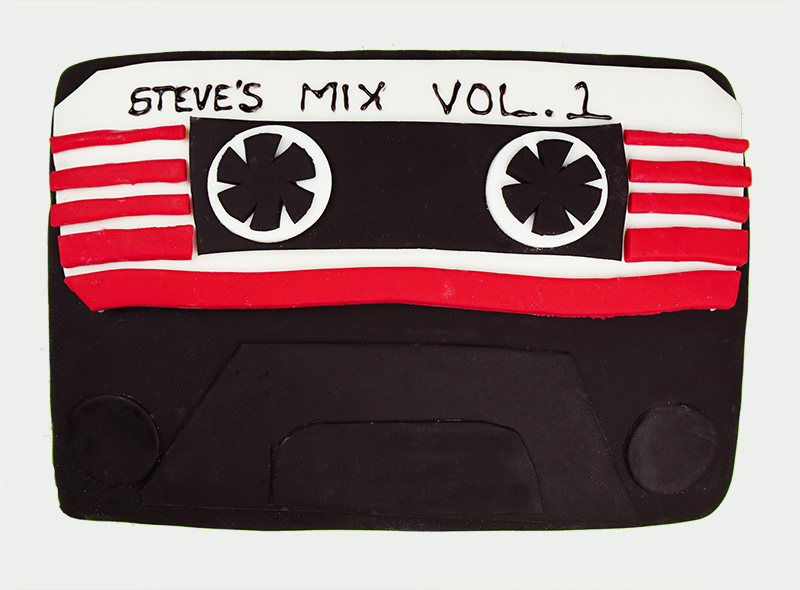
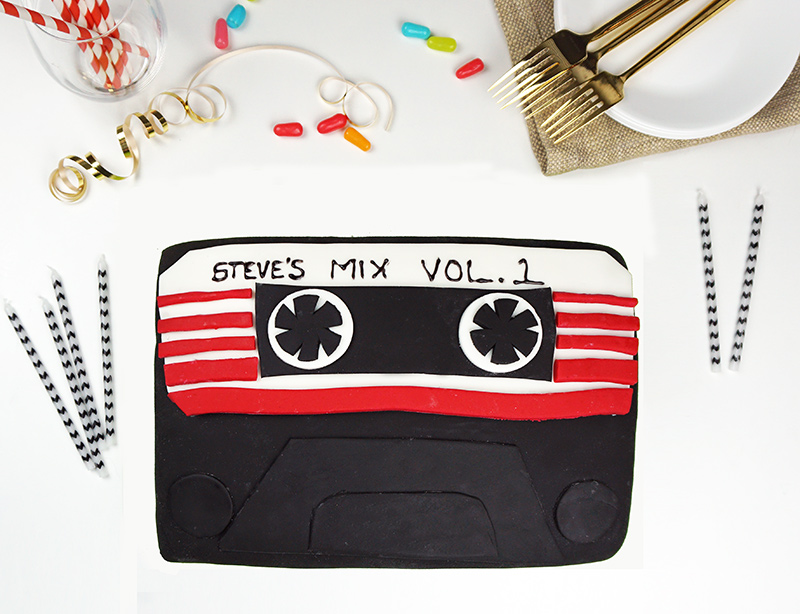
I did take the liberty of changing “Awesome Mix Vol. 1” to “Steve’s Mix Vol. 1.” Steve was the birthday guy, natch. I hoped he wouldn’t mind me broadcasting his name here. I’ll take the gamble. 😉
Want more recipes in your life? Sign up to receive recipes via email and follow along on Facebook, Twitter, Pinterest, Instagram, Bloglovin, and RSS for all of the latest updates.
Ingredients
- 1 cake box mix (I used lemon flavor -- use your own cake recipe if you prefer)
- 3 large eggs
- 1 cup water
- 1/2 cup oil
- 1 container frosting (I used vanilla)
- 2 (24oz) boxes black fondant
- 1 (24oz) box white fondant
- 1 (24oz) box red fondant
- 1 icing pen in black
- Powdered sugar, for rolling fondant
Instructions
- Preheat oven to 350 degrees F.
- Grease a 9x13-inch rectangle cake pan.
- In a large bowl, mix together cake mix, eggs, water, and oil. Mix with a whisk or in an electric mixer until smooth.
- Bake as directed on the box (about 30-35 minutes), until a toothpick or cake tester inserted in the middle comes out clean.
- Allow to cool completely before removing cake from the pan.
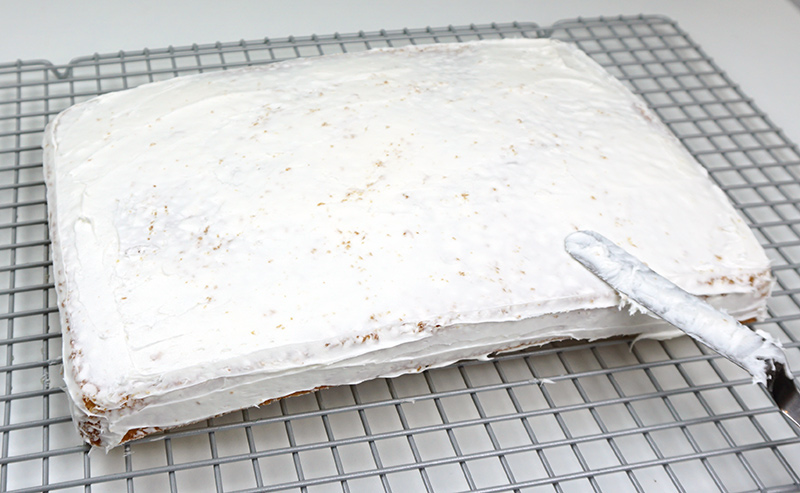
- Once cooled, spread a very thin layer of frosting into the entire cake, just enough to cover the top and sides. Chill for at least 2 hours in the refrigerator so the frosting firms up slightly.
- Remove the cake from the fridge.
- Lightly dust your work surface with powdered sugar and knead the black fondant to soften.
- Roll the fondant out into a large rectangle, about 16x11, to ensure you completely cover the cake with extra to spare.
- Transfer the rolled fondant onto the cake with your rolling pin and smooth it out on the top and sides. Cut off the excess using a pizza cutter, X-Acto knife, or sharp kitchen knife.
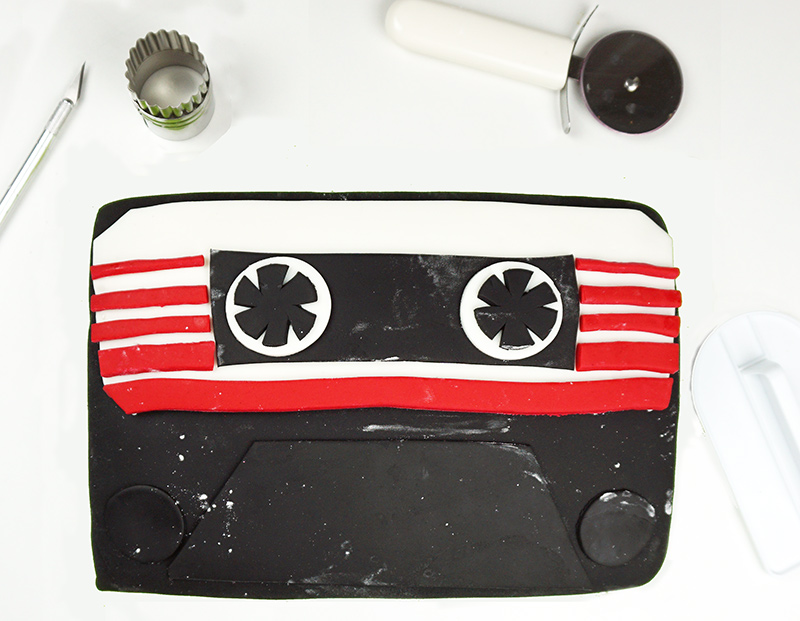
- Knead and roll out the white fondant and cut out the label and wheels of the tape. Use a measuring tape as needed to make all of the pieces the right size.
- Adhere the pieces with a tiny bit of water and a small paint brush.
- Roll out the red fondant and cut out long thing strips (increasing thinner) for the red stripes as shown.
- Write out your lettering as you like with a black icing pen or edible marker.
- Store the cake covered lightly in a cool, dry place. Fondant doesn't hold up well in the refrigerator.

![]() If you make this recipe, share a photo and hashtag it #BIJOUXANDBITS. I’d love to see what you’re cooking!
If you make this recipe, share a photo and hashtag it #BIJOUXANDBITS. I’d love to see what you’re cooking!
Adapted from The Chic Site

 Catherine Clark is a Chicago native sharing noteworthy things she sees and attempts to make in the world. She's a geek, cat lady, designer and editor by day, and noob chef by night.